Your front door is the gateway to your home – the first impression visitors receive. Over time, weather, sunlight, and general wear and tear can take a toll on its appearance. If you’re looking to refresh the curb appeal of your home without breaking the bank, a simple and effective solution is to give your front door a fresh coat of paint. In this DIY guide, we’ll walk you through the step-by-step process of revamping your front door and enhancing the overall aesthetic of your entryway.
1. Preparation is Key
Before diving into the exciting part of choosing colors and getting your hands dirty, it’s crucial to prepare your front door properly. Start by removing any hardware such as doorknobs, locks, and hinges. This will make the painting process smoother and help you achieve a more professional finish. Clean the door thoroughly to remove dirt, dust, and any loose paint. Sand the surface to create a smooth base for the new paint to adhere to. If your door has any imperfections, consider using wood filler to patch them up for a flawless finish.
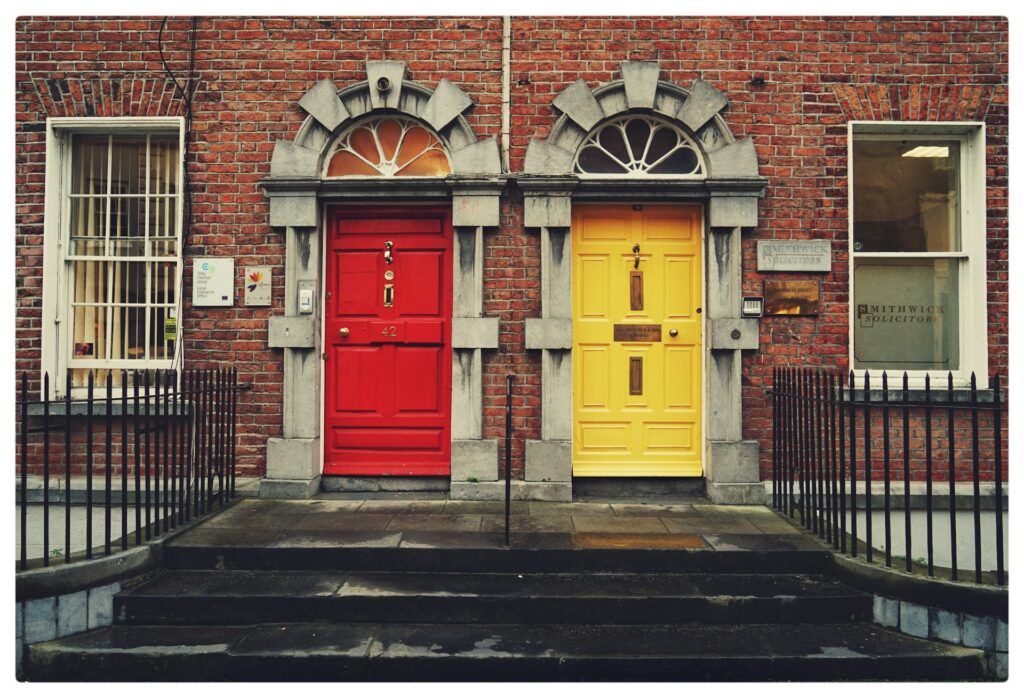
2. Choose the Right Paint
Selecting the right type of paint is crucial for the longevity and durability of your front door makeover. Exterior paints are designed to withstand the elements and protect against fading, cracking, and peeling. Opt for a high-quality, weather-resistant paint that suits the material of your door, whether it’s wood, metal, or fiberglass. Consider a bold color to make your entryway stand out or a more neutral tone for a classic look that complements your home’s architecture.
3. Prime for Success
Don’t skip the primer! Applying a quality primer before painting ensures better adhesion and enhances the longevity of your paint job. It also helps to even out the surface and provides a solid foundation for the color coats. Choose a primer that is compatible with the type of paint you’ve selected, and be sure to follow the manufacturer’s instructions for the best results.
4. Time for the Fun Part – Painting
Once the preparation work is complete, it’s time to bring your front door back to life with a fresh coat of paint. Use a high-quality brush or a sprayer for an even application. Start with the recessed areas, such as panels, and then move on to the larger, flat surfaces. Be patient and allow each coat to dry thoroughly before applying the next one. Multiple thin coats are better than one thick coat, as they ensure a smoother finish and prevent drips.
5. Add Personal Touches
Consider adding personal touches to make your front door unique. You could experiment with a contrasting color for the trim or choose a complementary shade for the door’s interior. Don’t forget to factor in the color of your home’s exterior when making these decisions. Adding a stylish and functional kick plate or a new set of hardware can also elevate the overall look of your entryway.
6. Seal the Deal with a Topcoat
To protect your hard work and enhance the longevity of the paint job, finish off with a clear topcoat. This extra layer will act as a barrier against the elements, UV rays, and daily wear, ensuring that your front door remains vibrant and beautiful for years to come.
Conclusion
Revamping your front door is a rewarding and budget-friendly DIY project that can instantly boost your home’s curb appeal. By following these steps and investing a little time and effort, you can create a welcoming entryway that reflects your style and makes a lasting impression on guests and passersby alike. So, grab your paintbrush and get ready to transform your front door into a stunning focal point that sets the tone for the entire home.